How to Set Up a Fishing Rod: The Simple Way to Go from Box to Casting in 15 Minutes.
Most beginners struggle with the reel-to-rod attachment and spooling the line without twist. In this guide, we'll walk you through the exact setup the DU Tech Team uses for both freshwater and saltwater — whether you're a new boat owner or a first-time pier fisher.
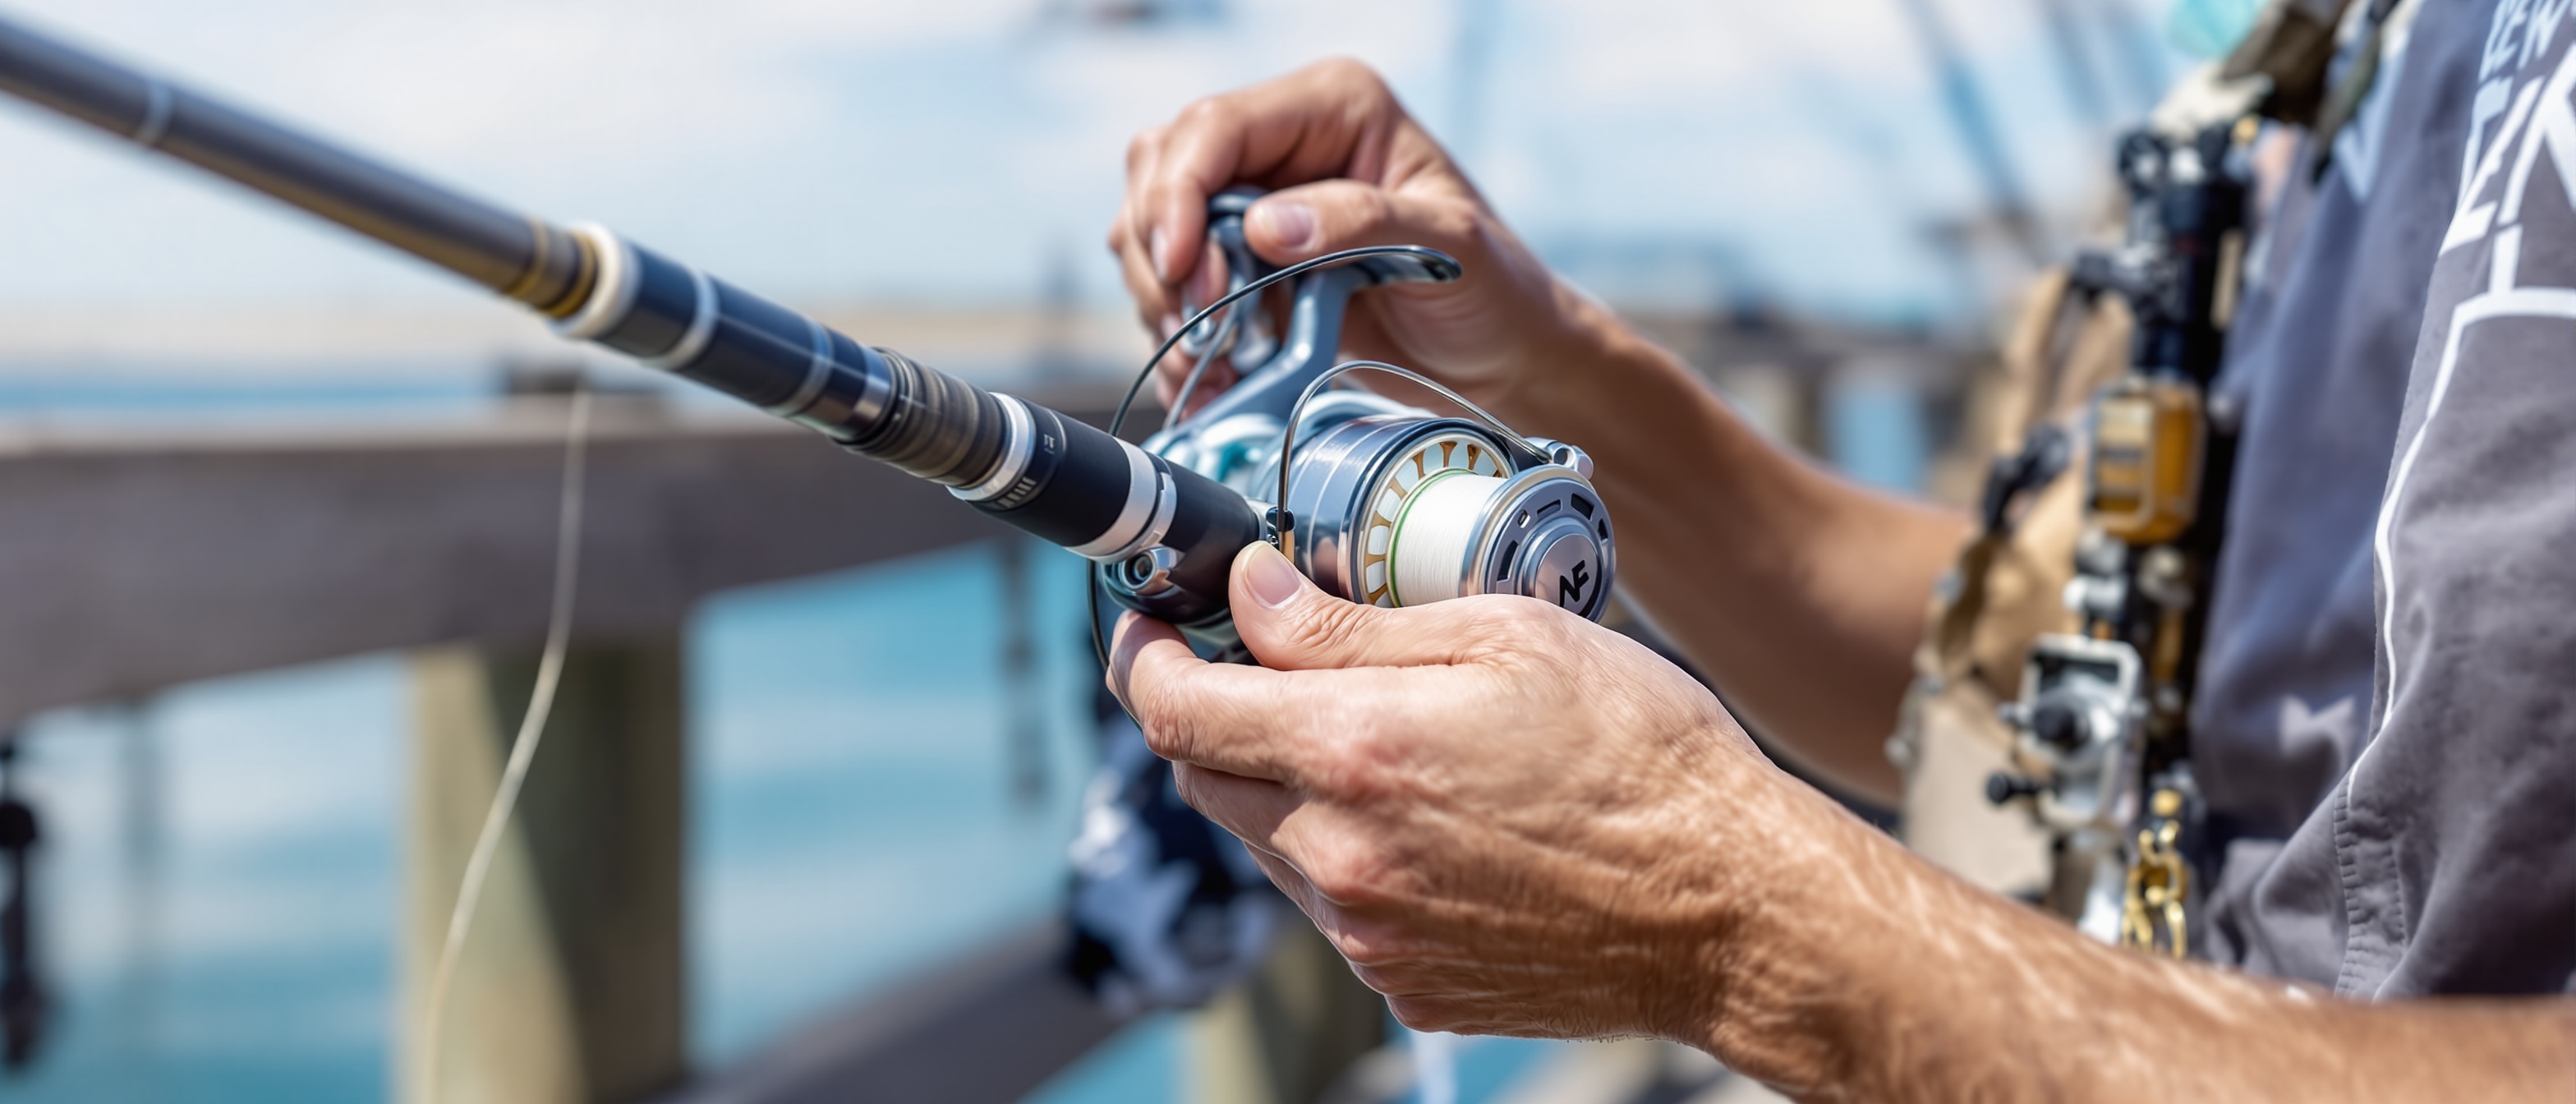
Step 1: Choose the Right Rod and Reel Combo
Before you touch a hook, make sure your rod and reel are matched. A heavy saltwater reel on a light trout rod will feel wrong and fish wrong. This checklist is for new pier fishers and first-time boat owners starting from scratch.

- For freshwater bass and general use: Medium-action rod, 3000-size spinning reel.
- For pier and coastal saltwater: Medium-heavy rod 7ft+, 4000–6000 size reel.
- For trout streams: Light to ultralight rod, 1000–2500 size reel.
- Match the rod's line weight rating (printed above the handle) to the line you plan to use.
- A rod rated "6–12 lb" should be spooled with line in that range — not 30 lb braid.
Common Mistake
Using a bass rod for saltwater pier fishing. Salt air corrodes freshwater guides and reel seats within a single trip. If you're fishing saltwater regularly, buy a rod and reel rated for it.
Pro Tip
For first-time pier fishers on the California or Florida coast — a medium-heavy 7ft rod paired with a 4000-size reel is your all-around workhorse. It handles everything from small surf perch to a surprise redfish.
Step 2: Attach the Reel to the Rod
Open the reel seat (the sliding rings near the bottom of the rod handle) and seat the reel foot firmly in the seat. Tighten the locking rings — the reel should feel absolutely solid with zero wobble.
- Loosen both locking rings on the reel seat by unscrewing them.
- Slide the reel foot into the fixed hood of the reel seat.
- Tighten the lower ring first, then the upper ring to lock the reel in place.
- Give the reel a firm shake — if it moves at all, tighten more.
- The handle should be on your dominant side (right-hand retrieve for most anglers).
Common Mistake
A loose reel seat creates friction and line twist during retrieves. It also damages both the rod and the reel over time. Snug it down — it should not move at all.
Pro Tip
After a long saltwater fishing day, rinse the reel seat with fresh water and re-tighten. Salt causes metal to swell slightly and loosens fittings. Five seconds of maintenance saves an expensive reel.
Step 3: Spool the Reel with Fishing Line
Open the bail (the wire arm on your spinning reel). Thread the tag end of your line through the first guide on the rod, then through all remaining guides down to the reel. Tie the line to the reel spool using an Arbor Knot.
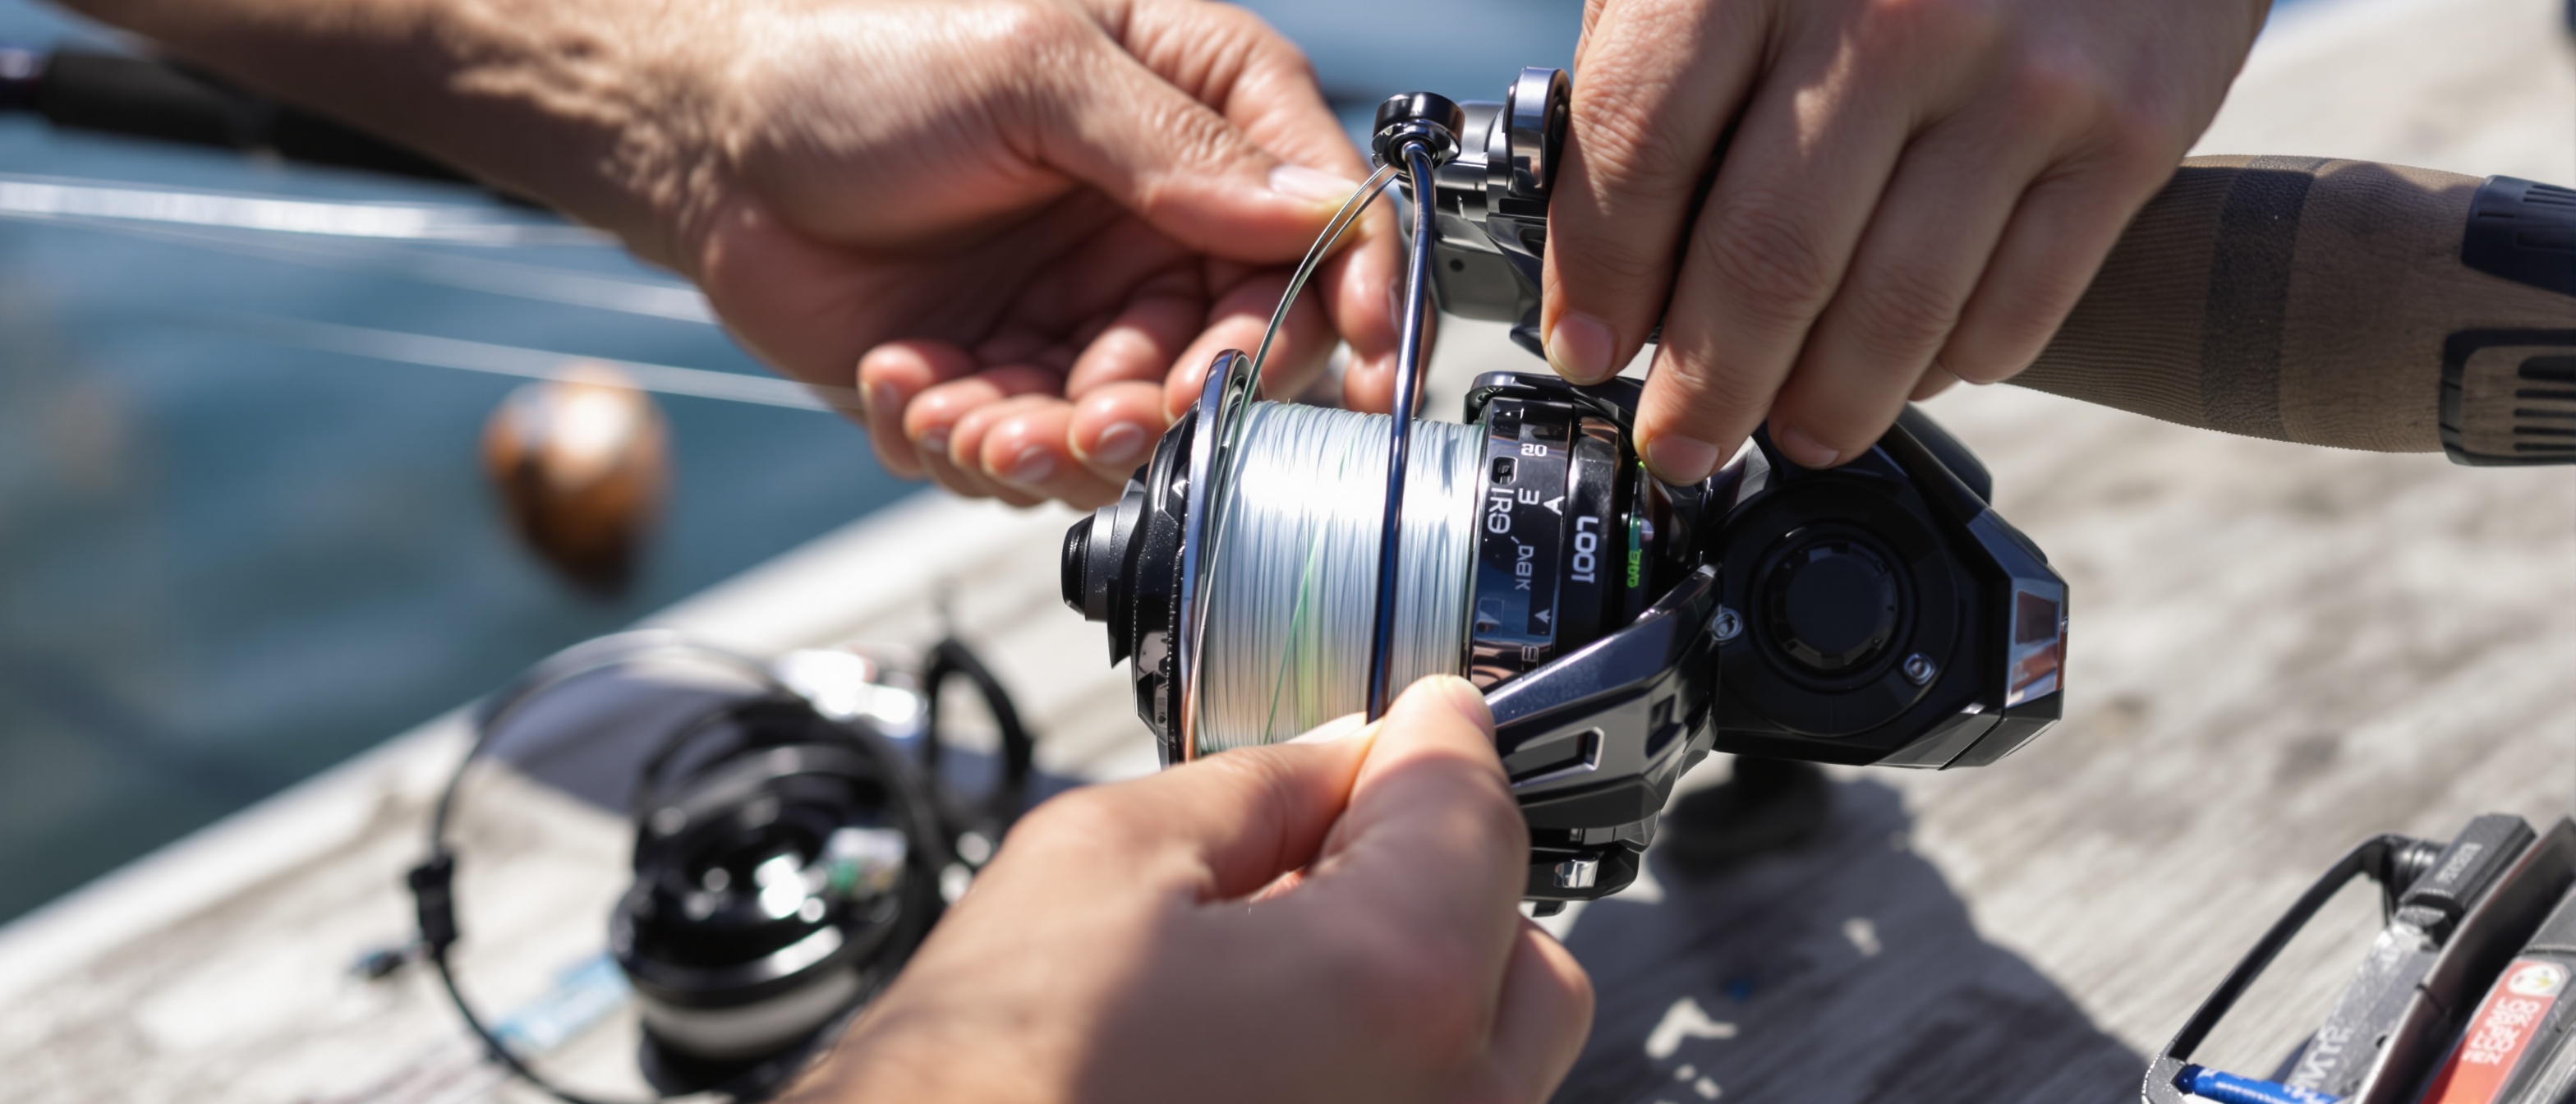
- Hold the line spool so line comes off the same direction the reel spool rotates.
- Thread line through all rod guides from tip to reel before tying to the spool.
- Tie an arbor knot: wrap around the spool, tie an overhand knot on the tag end, then another overhand knot 3 inches up the main line as a stopper.
- Close the bail and begin reeling slowly while applying light tension with your fingers.
- Fill to about 1/8 inch from the spool rim — overfilling causes tangles.
- Monofilament: lay flat from a spool held face-up. Braid: no twist issues, easier to manage.
Common Mistake
Letting line come off the spool in the wrong direction causes twist, which causes frustrating line knots called 'wind knots' mid-cast. Match the direction the line comes off the supply spool to how your reel spool turns.
Pro Tip
Run new line through a wet cloth as you spool it onto the reel. The slight tension removes line memory and helps it lay flat. Especially helpful in cold conditions — monofilament develops bad memory on cold mornings that causes it to spring off the spool in loose coils.
Step 4: Thread Line Through the Guides
Every guide on your rod must have the line running through it — from the reel, through each ring, all the way to the tip-top. Missing a guide ruins your rod's action and causes the line to cut the blank.
- Start from the guide closest to the reel and work toward the tip.
- Open the bail before threading — threading with bail closed is a very common mistake.
- Use a loop of the main line to thread guides — it's easier than the tag end.
- Pull 12–18 inches of line past the tip-top before attaching a hook or lure.
- Double-check each guide is properly threaded before your first cast.
Common Mistake
Missing the tip-top guide (the very end) causes the line to run along the outside of the rod on your cast — dramatically shortening your distance and risking the tip breaking under load.
Pro Tip
In low light at 5am on a pier or boat, threading guides is frustrating. Fold the line back on itself into a stiff loop to thread guides — it pushes through easier than a limp tag end. Any experienced guide will tell you this trick.
Step 5: Attach Your Terminal Tackle
Now you're ready to tie on your hook, swivel, or lure. Use the Palomar or Improved Clinch knot (see our knot guide). Attach a hook appropriate for your target species and bait.
- For live bait: Use a circle hook — they reduce gut-hooking and improve catch rates.
- For lures: Tie directly to the lure eye with a Palomar or Loop knot.
- For heavy saltwater: Add a barrel swivel between your main line and a 12-inch leader.
- Hook size guide: Size 1/0–3/0 for bass; Size 4–8 for trout; Size 4/0–7/0 for saltwater.
- Check the knot with a firm pull before your first cast.
Common Mistake
Tying a hook that is too large for your target species. Trout won't take a bass hook size. Match the hook to the fish's mouth size — if in doubt, go smaller.
Pro Tip
Great Lakes walleye anglers use a simple 3-way swivel rig: main line to swivel, 12-inch dropper with a sinker to the bottom ring, 18-inch leader with a hook to the side ring. This setup keeps your bait off the bottom and sweeps the current naturally. It catches walleye consistently from Lake Erie to Mille Lacs.
Pro Tips from The DU Tech Team
Walk to the pier 30 minutes before sunrise, set up in the dark, and be in the water before 6am. The first hour of light is when pier fishing is at its absolute best. All that setup stress is worth it the moment you hook up at dawn.
Before you launch: check every guide is clear of bird nests or debris, confirm the line is filled to the right level, and do a dry cast in your driveway. Finding a setup problem on the water is 10x more frustrating than finding it at home.
For kids, pre-tie everything at home using 8-lb monofilament and a size 6 baitholder hook with a small bobber. Simplicity wins with young anglers. The goal is keeping a line in the water — not rigging.
Pre-Fishing Checklist
You're Rigged Up. Now Learn How to Tie Knots.
The setup is done — now make sure that hook stays on with the right knot technique.