How to Tie Fishing Knots: The Simple Way to Never Lose a Fish to a Bad Knot Again.
Most beginners lose their biggest fish not to bad luck — but to bad knots. In this guide, we'll show you the exact three knots the DU Tech Team uses in every situation from Colorado trout streams to Florida saltwater flats.
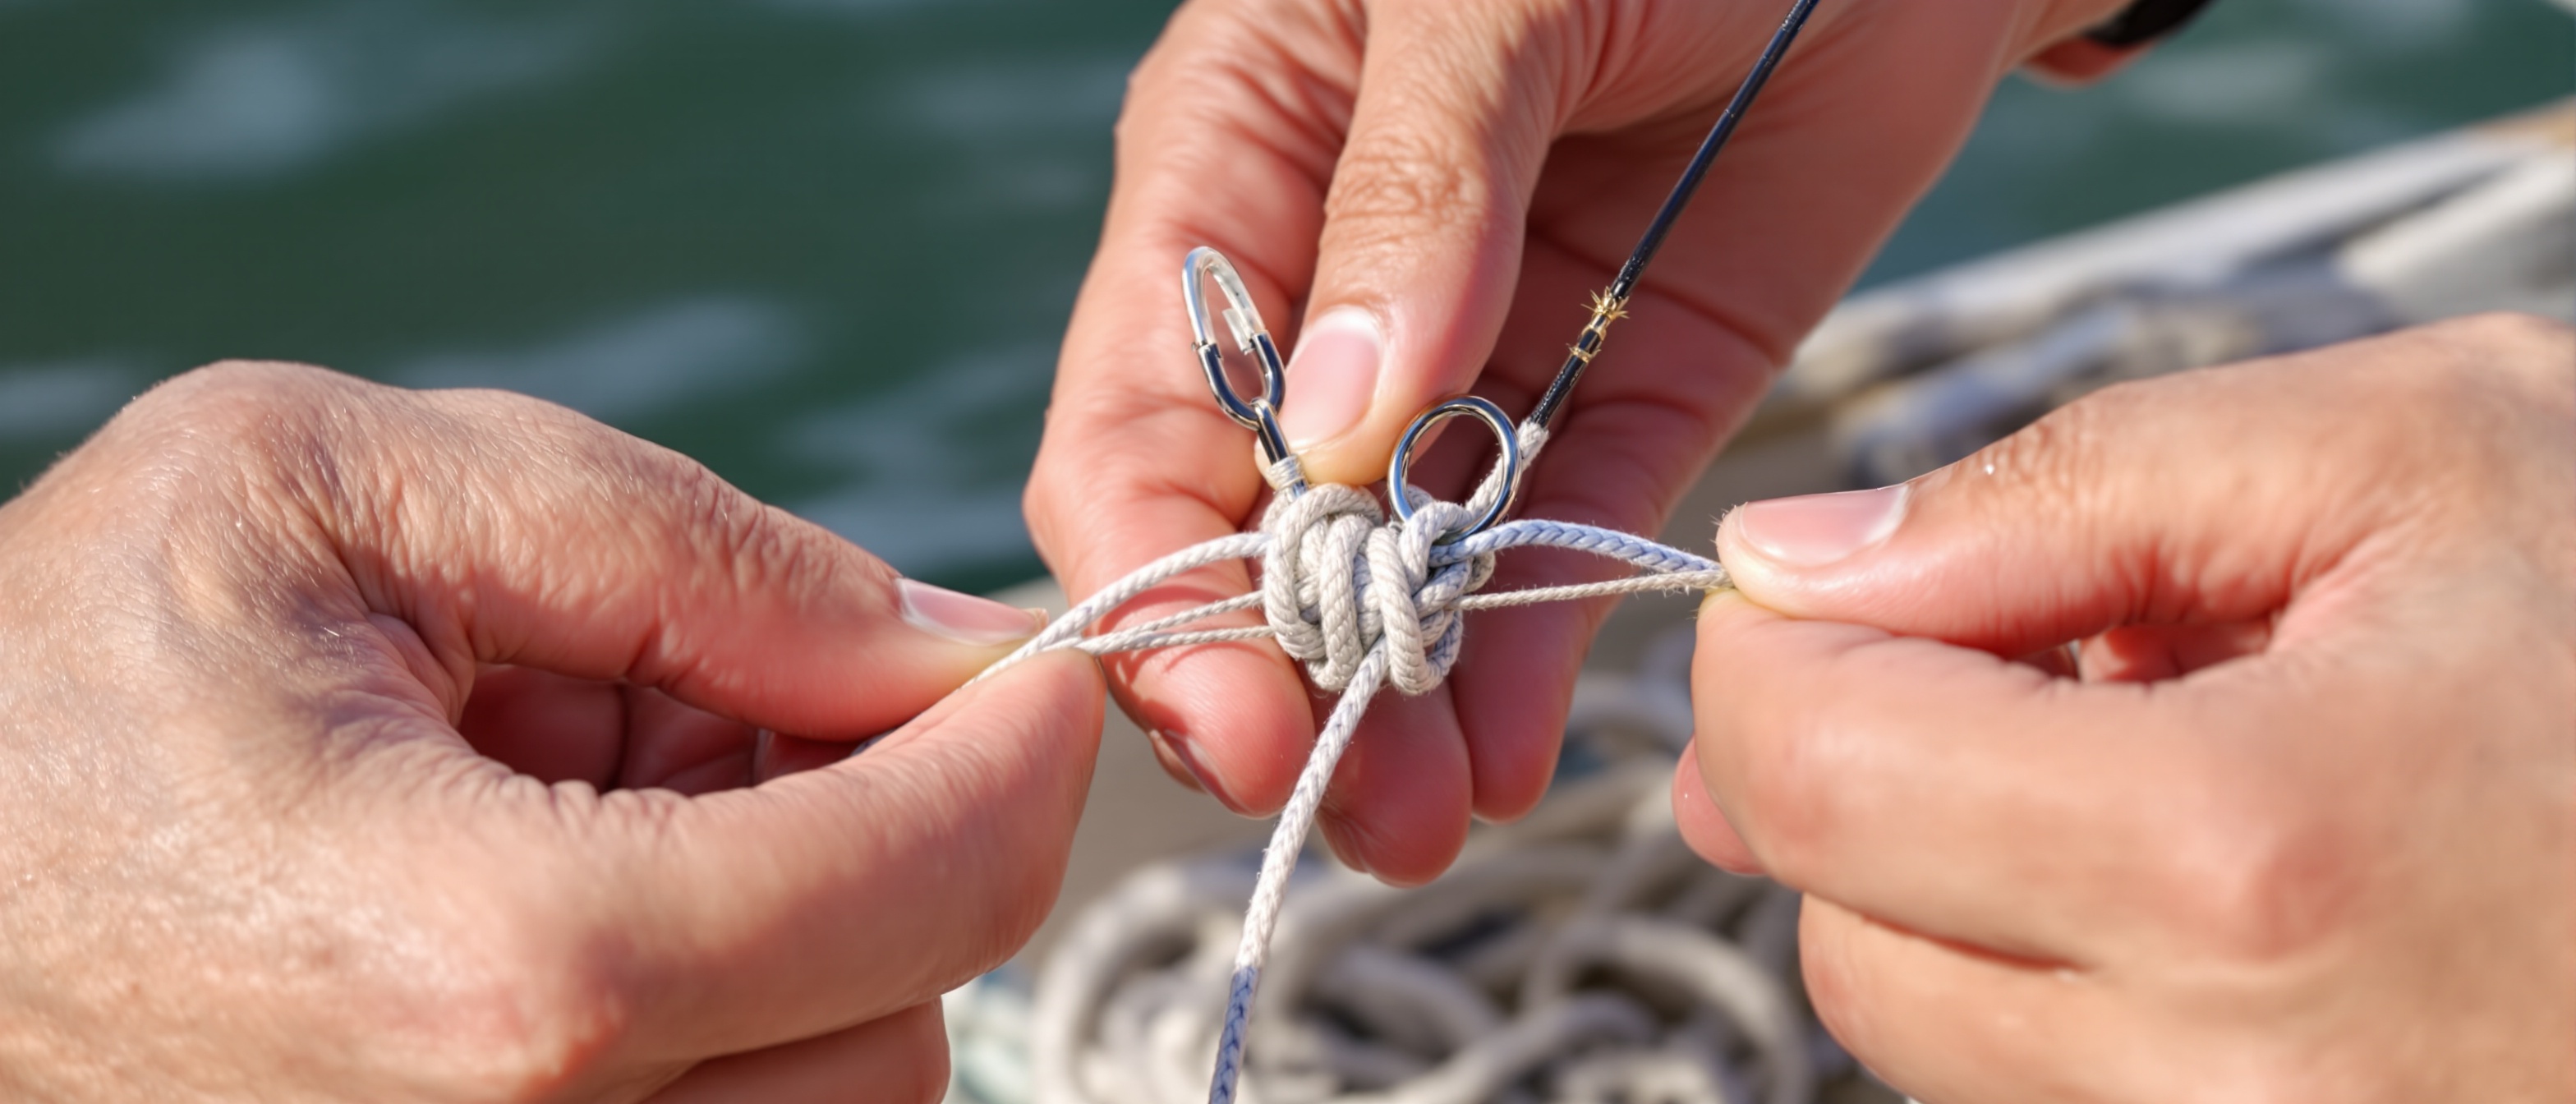
Step 1: The Palomar Knot — Your New Best Friend
The Palomar is the single strongest knot for attaching a hook or lure to braided or monofilament line. It holds at nearly 100% line strength when tied correctly. Start by doubling about 6 inches of line to form a loop.

- Double 6 inches of line — you are working with a folded loop, not a single strand.
- Pass the loop through the eye of the hook from front to back.
- Tie a simple overhand knot with the loop — like tying the first half of a shoelace.
- Pass the entire hook through the loop you just created.
- Wet the knot with saliva before tightening — this prevents friction damage to the line.
- Pull both tag end and main line to tighten evenly. Trim tag end to 1/8 inch.
Common Mistake
The most common mistake is pulling only the main line to tighten. This causes the knot to cinch unevenly and lose 30–40% of its strength. Always pull both ends simultaneously.
Pro Tip
In the Pacific Northwest, we use 20–30 lb braided line for shore salmon fishing. The Palomar holds full braid strength where other knots slip. Run a 12-inch fluorocarbon leader between the braid and hook — fish in clear Northwest rivers can see your main line from 10 feet away.
Step 2: The Improved Clinch Knot — The Classic
The Improved Clinch is the most widely used fishing knot in America. It is simple, reliable, and works with monofilament and fluorocarbon. Thread 6 inches of line through the hook eye and double back parallel to the main line.
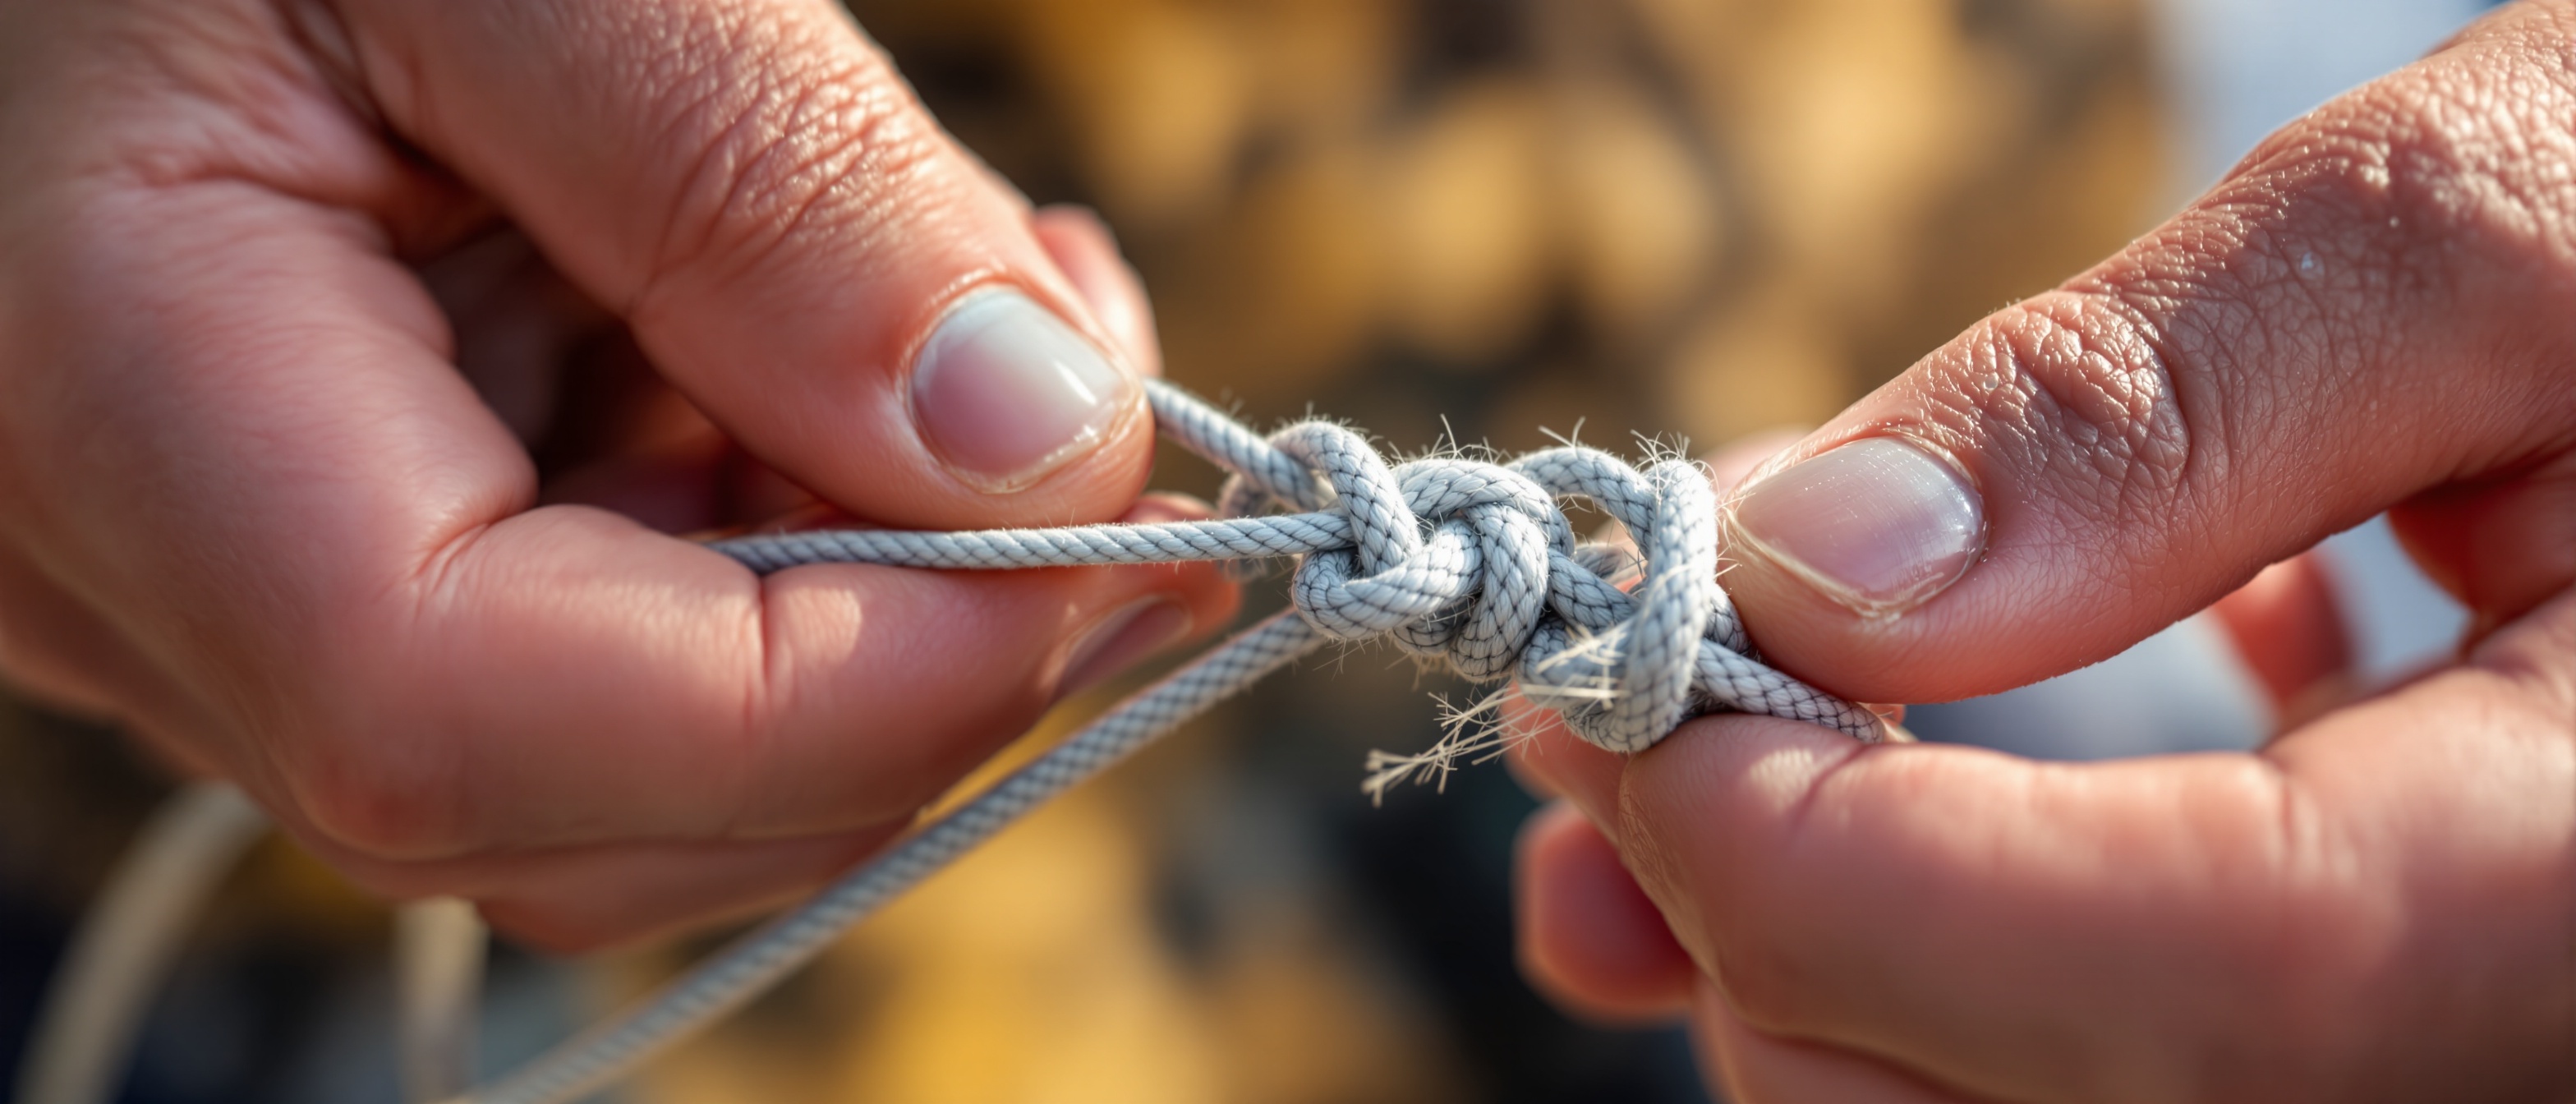
- Thread 6 inches of line through the hook eye.
- Double back and wrap the tag end around the main line 5–6 times.
- Pass the tag end through the small loop formed just above the hook eye.
- Then pass the tag end through the large loop you just created — this is the "Improved" part.
- Wet the knot thoroughly before pulling tight.
- Pull the main line firmly to seat the knot, trim the tag end close.
Common Mistake
Skipping the second pass through the large loop (the 'Improved' part) turns this into a basic Clinch knot — significantly weaker. Make sure you complete both passes before tightening.
Pro Tip
For light freshwater fishing in Colorado mountain streams, use 5X or 6X fluorocarbon tippet with the Clinch knot. The knot works perfectly at those small diameters. Wet it twice before tightening — thin fluorocarbon heats up fast from friction and will weaken if you rush the cinch.
Step 3: The Loop Knot — For Live Bait Action
The Loop Knot (Non-Slip Mono Loop) creates a fixed loop that lets your lure or bait swing freely instead of being choked by a tight knot. This is crucial for live bait rigs and floating lures where natural movement triggers bites.
- Tie a simple overhand knot about 10 inches from the end of the line — leave it loose.
- Pass the tag end through the hook eye.
- Bring the tag end back through the overhand knot from the same direction it exited.
- Wrap the tag end around the main line 4–5 times.
- Thread the tag end back through the overhand knot — going in the opposite direction this time.
- Wet and tighten by pulling main line and tag end, then trim.
Common Mistake
Threading the tag end back through the overhand knot in the wrong direction collapses the loop completely when you tighten. It should come out the same side it went in on the overhand knot.
Pro Tip
Florida redfish and snook on the flats absolutely crush live shrimp when it swings naturally on a loop knot. A tight clinch kills the bait's action. We use the loop knot for everything we fish on the Florida flats — live bait or lure, it just flat-out catches more fish.
Step 4: Test Your Knots Before You Cast
A knot that looks right can still fail. Before every fishing session — especially when targeting larger fish — test each knot with a controlled hard pull. Tighten it against your rod grip or a stable surface.
- Pull the knot firmly — it should seat tighter, not slip.
- Check the tag end — if it starts pulling through the wraps, retie immediately.
- Inspect the line near the knot for any nicks, kinks, or discoloration from heat.
- Re-tie after landing a large fish — the fight can weaken even a good knot.
- Check knots more frequently in saltwater — salt crystals can weaken line over time.
Common Mistake
Not retying after a big fish fight. A 5-lb bass or a 15-lb salmon stresses a knot to near its breaking point. The next fish could snap your line on a weakened knot from the previous fight.
Pro Tip
After any fish over 5 lbs, run your fingers down the last 18 inches of line. Feel for any roughness, flat spots, or kinks — especially if the fish ran you into any rocks or structure. Rough line means weak line. Retie. Every time.
Pro Tips from The DU Tech Team
In the Pacific Northwest, we use 20–30 lb braid with a 12-inch fluorocarbon leader for shore salmon. Always Palomar the braid-to-swivel connection and Clinch the leader-to-hook. The two-knot system handles the full shock load of a running king salmon.
For redfish and snook in Florida, wet your knots twice as long as you think necessary. Heat from friction in warm Florida weather weakens fluorocarbon faster than cold-water fishing. A knot that looked fine can fail on your first hard hook set.
Trout in clear Colorado tailwater can see a knot bulge at the hook eye. Use the smallest possible hook eye for your line diameter, and trim the tag end as close as you can without cutting the wraps. Every millimeter of extra material on that hook spooks selective Colorado brown trout.
Tight Lines! Now Go Practice These.
Tie each knot 5 times at home before you hit the water. Muscle memory means you can tie them in the dark, with cold hands, or on a rocking boat.